Marcs Conversion - Part 1
I sold my old Race Xflow and embarked on the bike route. I always liked
the idea of bikes but have no urge to die just yet. The best part of a
bike is it's engine, and the best handling (cheap) cars are sevens. Voila
- a race-car for road and track.
This page covers my transformation of a Xflow engined car into an R1 engined
car. I have elected to do as much as I can for myself. I
purchase only the stuff I can't make or modify myself. This is part out of
tightness :-) and part out of determination to do things MY WAY!!
 Feb
2001
Feb
2001
Although this philosophy is grand - it is also sloooooow. I have done
nothing to the car over the last few months partly out of dissatisfaction with
congested roads and partly because it hasn't stopped raining in 5months!
Now I am starting again and am keen to finish before I am drawing my
pension. With this in mind my philosophy has changed to "throw money
at it!".
How she used to lookJune
2001

|

|

|
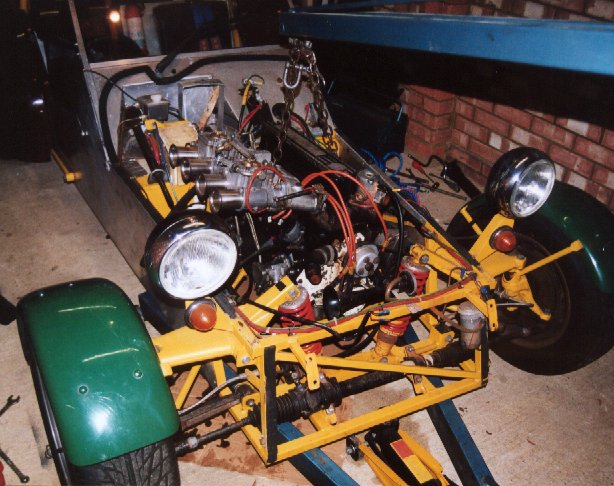
| Views of the old car setup. The car started out as
far as I can tell with a 1.3 Xflow and Burgundy gelcoat
throughout. The guy I got the car from had whipped the engine out,
put in a 1.7 Race-tuned Xflow and had started to paint it. He
didn't finish the painting hence the bizarre Harlequin colour scheme! |

|
 |
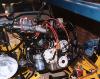
| The old 1.7 Race-tuned Xflow. Utterly nuts, very revvy
and hopelessly unreliable. Tuning any production engine that
originally made 84bhp in the family saloon to 170bhp+ is nuts. |
First of all we have to remove the old engine which is a pretty quick job.
Here is the rough order to get things off!
- Remove exhaust manifold and set aside
- Drain oil and coolants from the engine
- Disconnect all electrical connections to the engine
- Remove fuel piping to the engine and catch spilt fuel. DANGER
be careful with fuel!!!
- Disconnect and remove propshaft from within centre tunnel - note gearbox oil will
escape!
- Disconnect all coolant pipes, remove radiator and set aside
- Unbolt some of the engine mount bolts. Also undo the gearbox mount bolts.
This is fairly tricky and is best accomplished with a friend!
- Move the crane into position and attach its hooks on its chains to some of the engine
mount bolt holes.
- Take the strain/weight and then remove the other engine mount bolts.
- Lift out engine by moving crane forwards and up to clear the chassis rails.
 |
My best mate Kev lending a hand to take the pipes etc off. |
 |
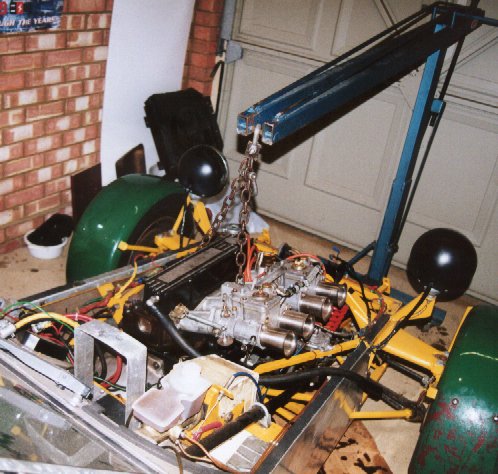
Here is the Engine now supported by the engine-crane.
There are no fuel/coolant pipes connected and the electrics are disconnected. |
 |
Here is the view from the front of the car - showing the crane taking the strain! |
 |
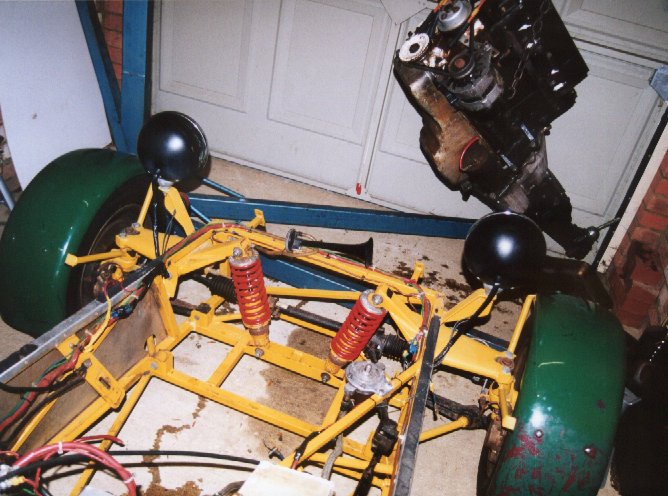
The engine is now being gradually lifted from the engine bay. Be carfeul not to
scratch any paintwork and work slowly to avoid banging the engine into the chassis. |
 |
Here the engine is removed and the lovely empty (dirty) bay is left! |
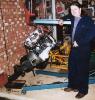 |
Here is the hunter with his prize specimen! |
Depending upon the state of your car you may be able to just go straight ahead and
start dropping bits in. On the other hand the engine bay may be filthy dirty and the
wiring a mess. This is an ideal time to sort all those odd jobs out on the car.
The main things you have to do are:
- Remove the old engine mounts (angle grinder does the trick here). Don't forget to
clean up and paint to stop corrosion.
- Remove old radiator mounts if you are fitting a new bike radiator.
If like me your car was originally put together by someone else you may want to do
other things. I did the following:
- Rip out all wiring as it was bloody awful. Rewire the whole car with
separate plugged-looms for rear/front/engine and dash.
- Cleanup the chassis including taking off corrosion and re-applying paint and sealer.
This leaves a nice clean empty engine bay to plan the installation......